|
|
Post by miketippett on Jun 29, 2017 1:25:25 GMT
Newly powder coated wheels, new door jamb sill plates, some minor parts: 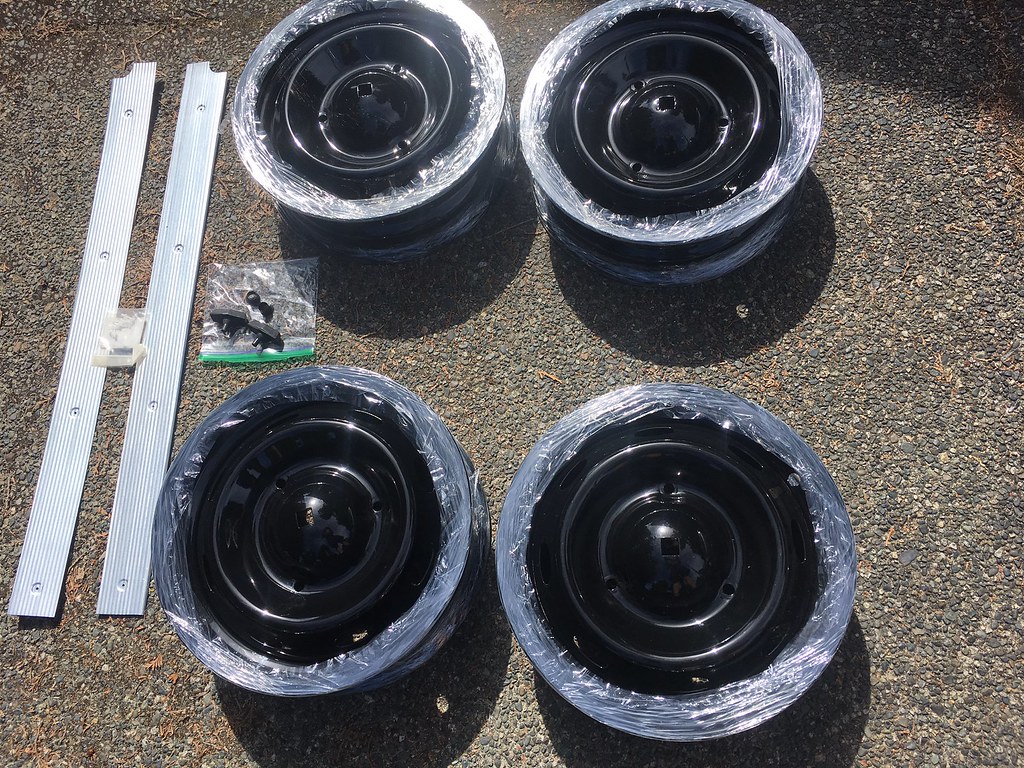 New XAS tires for the 4 rims and spare: 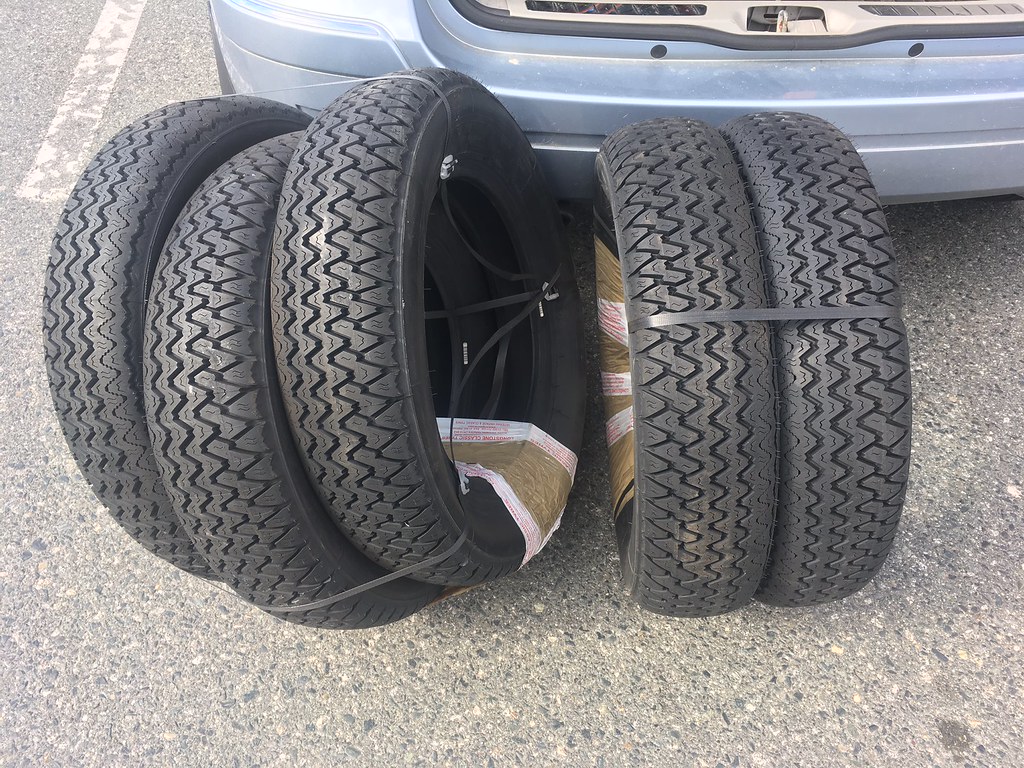 Rebuilt pedal assembly: 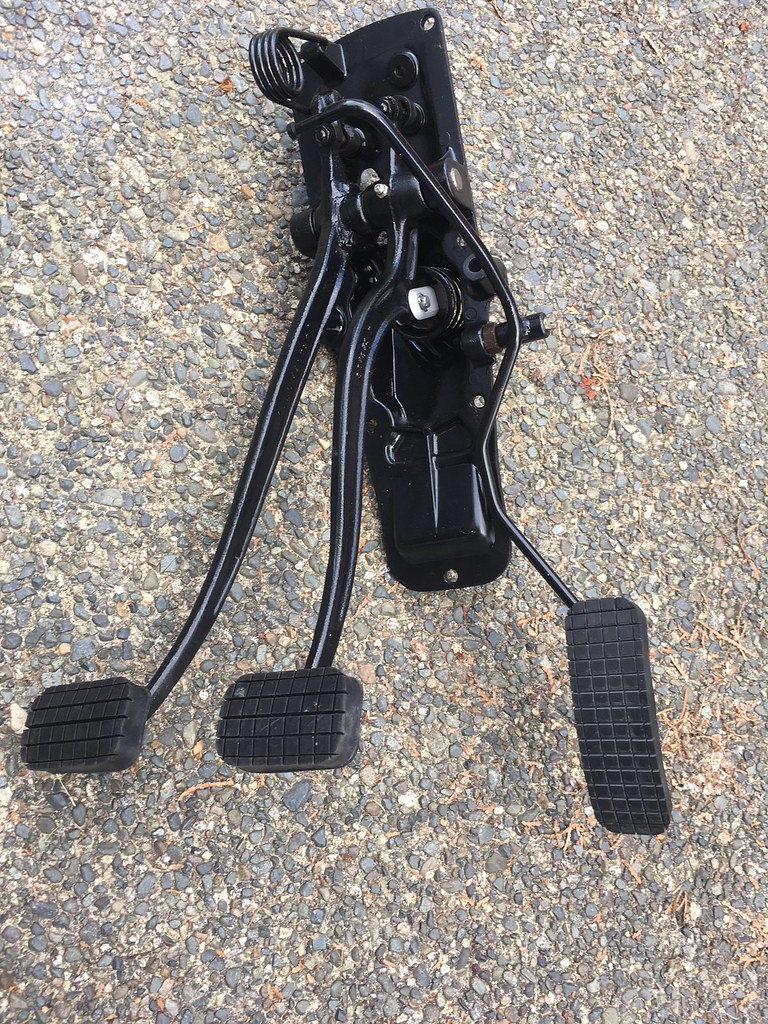 Disassembled grille: 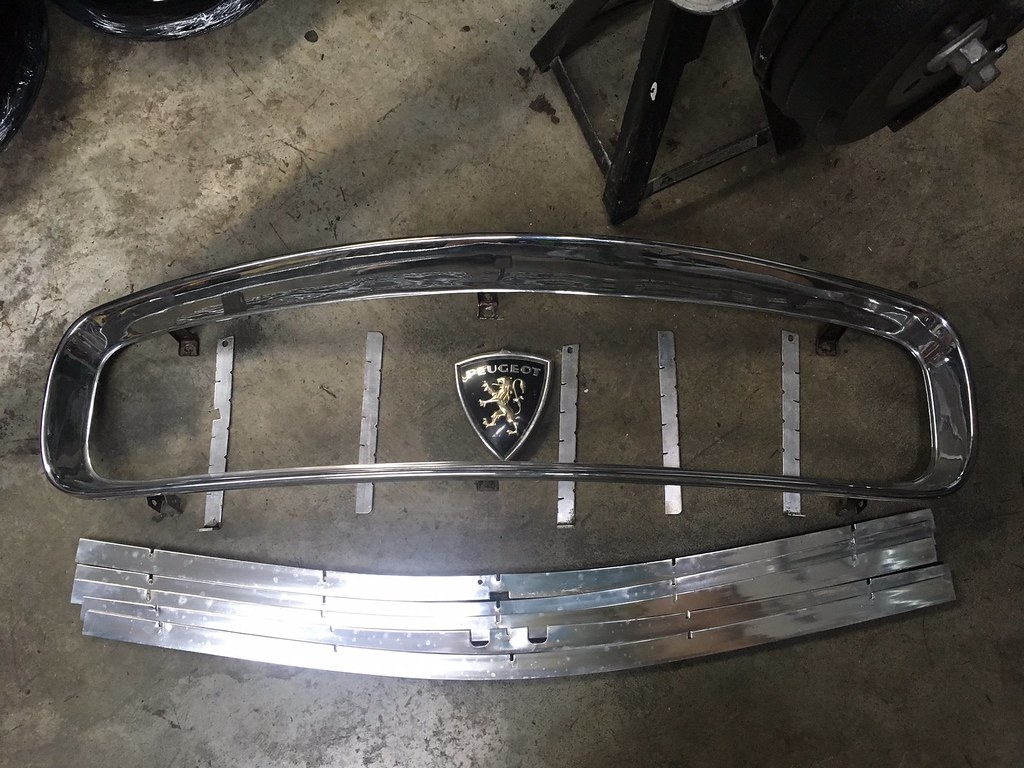 |
|
|
|
Post by miketippett on Jul 16, 2017 18:33:56 GMT
You're probably thinking: "Mike, when - for criminy sake - will your 404 be painted?". Well, I was asked to bring the grille surround back to the shop on Bastille Day to Coachwerks, as the bodyshell is virtually ready to paint. A final fitting of the grill surround to the shell will confirm that it's ready. Meanwhile, two of the three taillight bezels I have as well as the door handles are still at the chrome shop, as well as both bumpers, the latter for dent repair and polishing only. You've read this before, but it's possible that the car will be painted in a week's time, and almost certainly by the end of July. So, Peter Gallagher of Automotion, 1390 Pemberton Avenue North Vancouver, did the mounting and balancing when I was at his shop on Tuesday (11 July) morning. When I arrived he was nearly done, but I managed to catch the last bit of work. The wheels were "too pretty", Peter said, to hammer rim weights onto, so he used stick-on weights that will be invisible behind the large hubcaps. 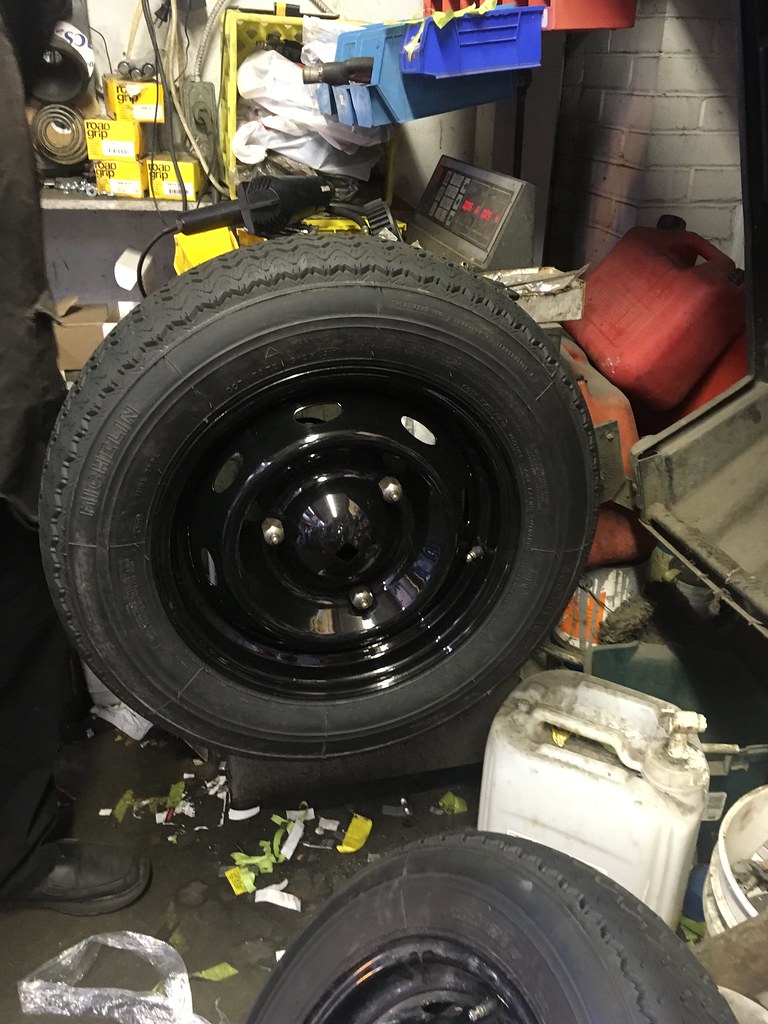  I think I will keep the two 30 year old Michelin MXL and two 28 year old XM+S 100 tires on rims, so when the car sits in the garage it can be on those tires, saving the XAS from flat-spotting during storage. |
|
|
|
Post by miketippett on Aug 16, 2017 0:42:22 GMT
The car has been in the booth since Friday and today was to be paint day but Andy, the painter, required a final fettling, being a perfectionist. So....paint goes on Wednesday 16 August. 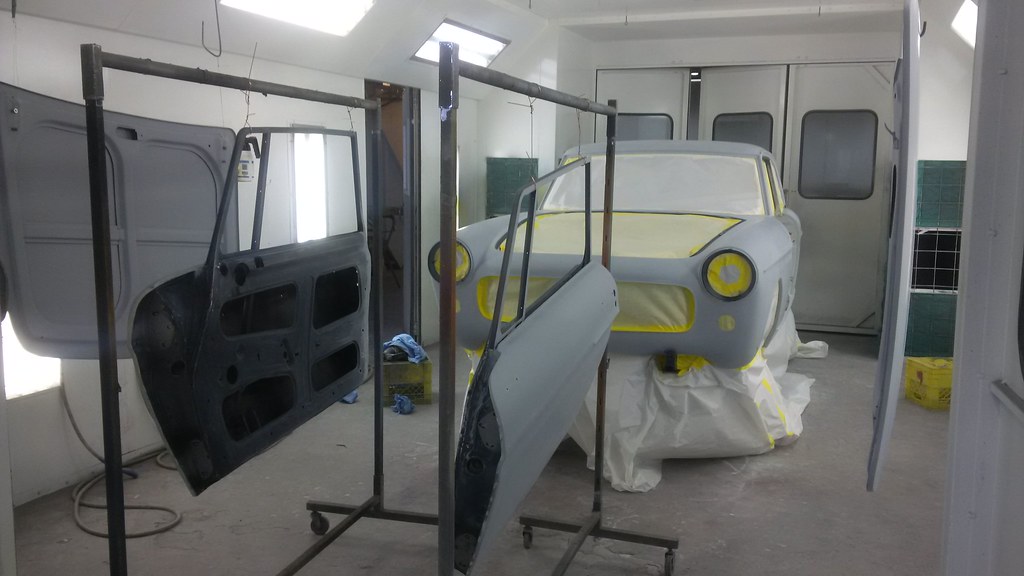 |
|
|
|
Post by miketippett on Aug 17, 2017 2:28:57 GMT
The deep blue paint has been applied today!  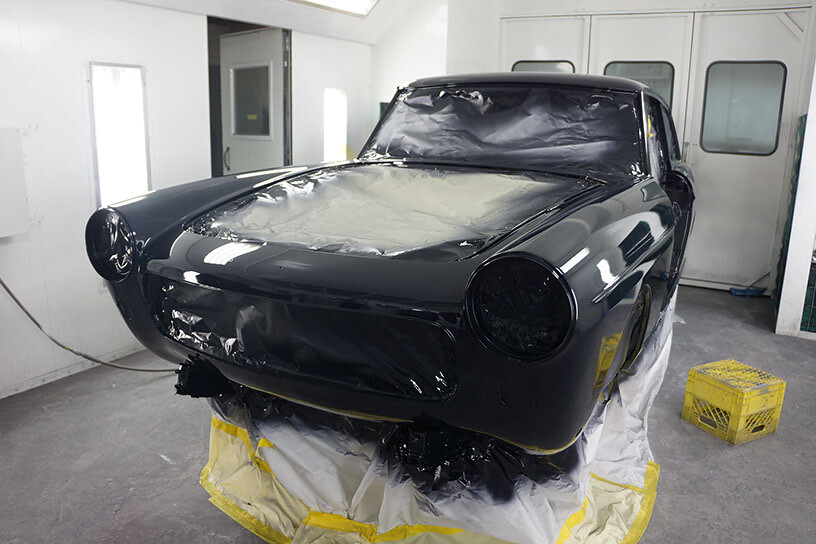 Reminder: This engine bay photo was taken in sunlight and it looks much brighter in this type of light. 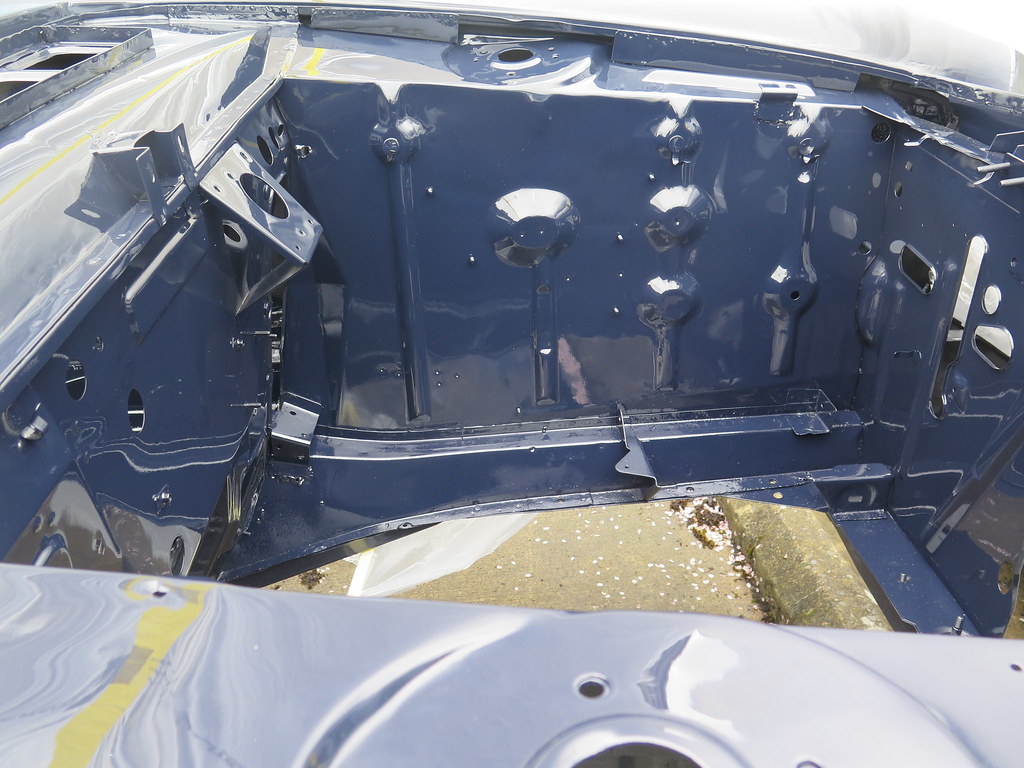 There are a few more on the restoration page, under "paint": www.coachwerks.com/MT1966Peugeot404C/paint.html |
|
|
|
Post by miketippett on Sept 8, 2017 3:18:49 GMT
|
|
|
|
Post by miketippett on Sept 29, 2017 2:18:54 GMT
She came home to me today:   |
|
|
|
Post by miketippett on Oct 22, 2017 3:52:48 GMT
|
|
|
|
Post by miketippett on Nov 5, 2017 20:20:19 GMT
Round two of plated hardware: 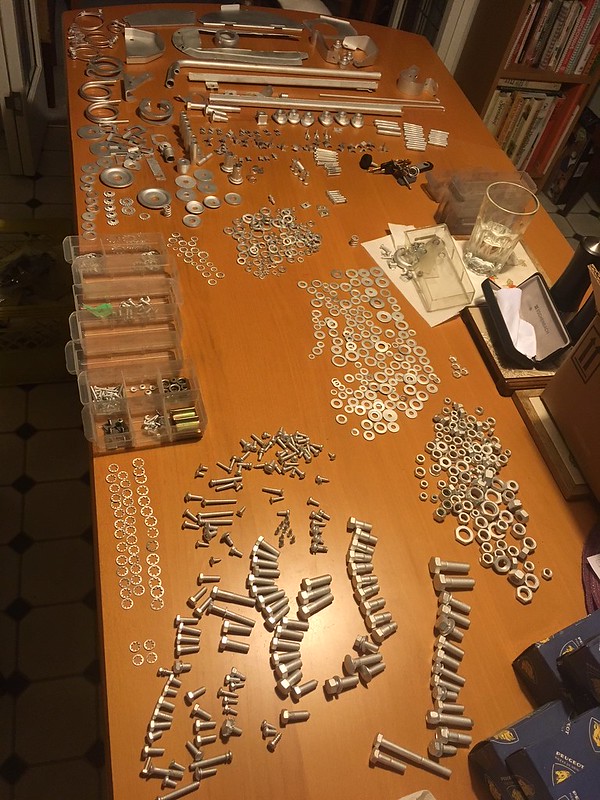 Replated taillights that I got a couple of weeks ago, this time reassembled. One of the turn signal bulb bases had to be replated due to corrosion and all of the lens screws were replated too. 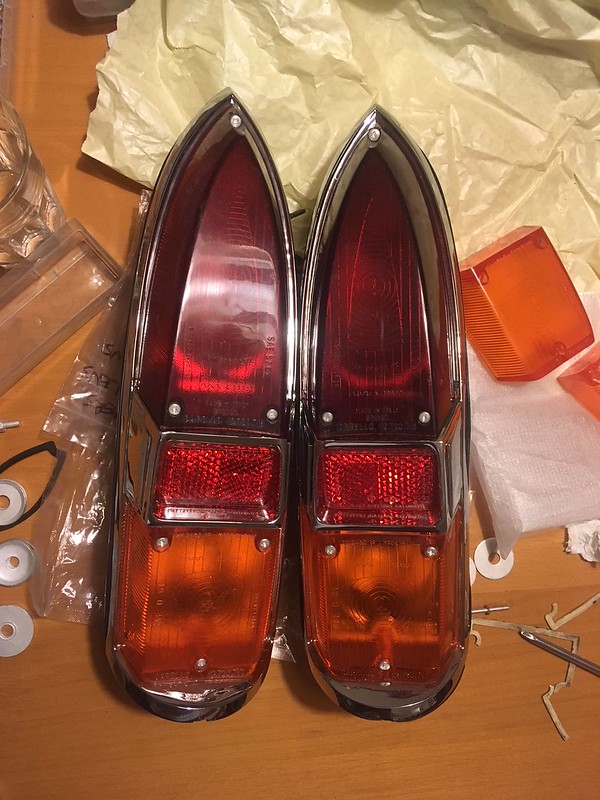 6 months ago I was desperate to find one of these. Instead I found an earlier version with the same threading that had to be turned down on a lathe to make it fit. Then a couple weeks ago, I found this.....in the same box where I found the others. So I had it replated for future considerations..... 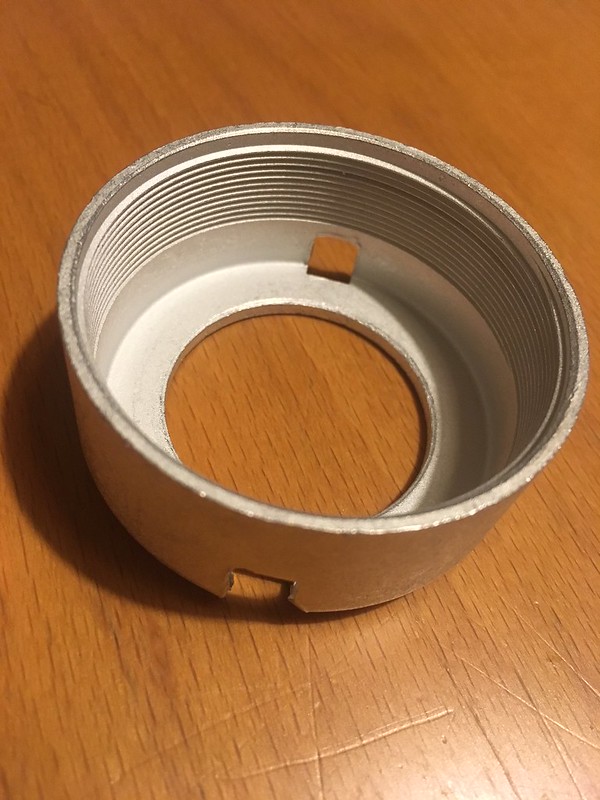 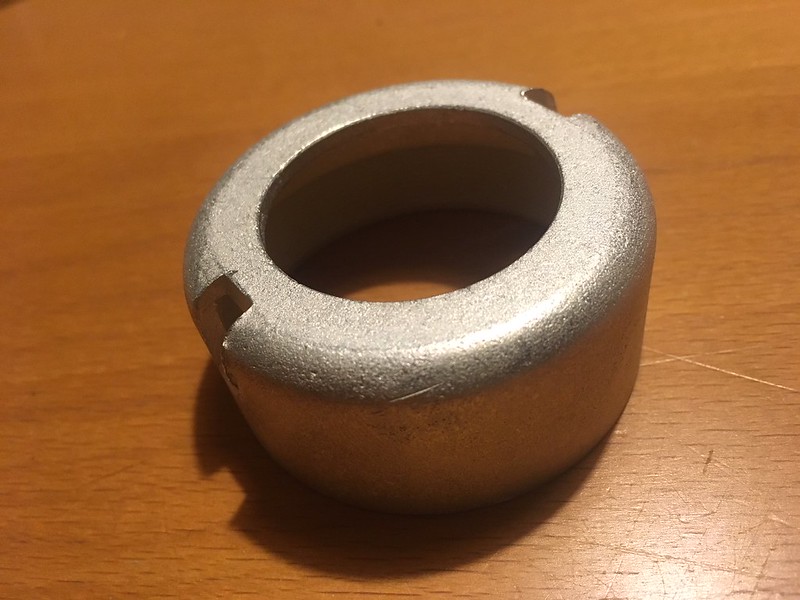 |
|
|
|
Post by miketippett on Nov 19, 2017 3:36:19 GMT
Slow progress to report.... I was away in Prince George last weekend with my wife but on the way we managed to squeeze some 404 action in: I stopped by John Coltman's house in Barriere BC and he gave me a bunch of NOS 404 parts, plus some old KF2 injection parts and lots of spare fasteners and hardware.  On the way back home I bought a huge sheet of rubber for making the pedal box gasket and inner fender rubber seals. Tonight I took 15 minutes to make a new gasket. It's on the car already, on the studs in the footwell waiting for the pedal box to be mounted (months from now, I don't want the pedals in the way early on in the reassembly process). 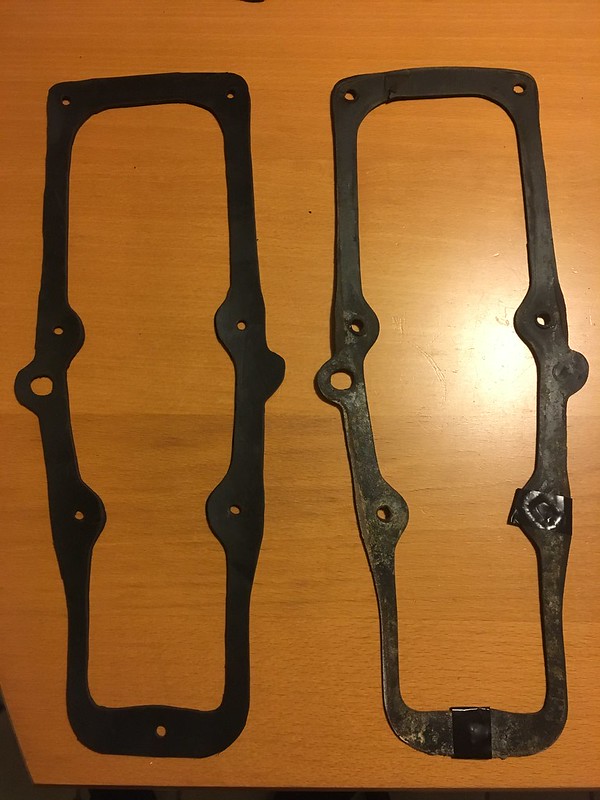 Old one on right, my replica on the left. Dashboard's Pininfarina sign has been replated : 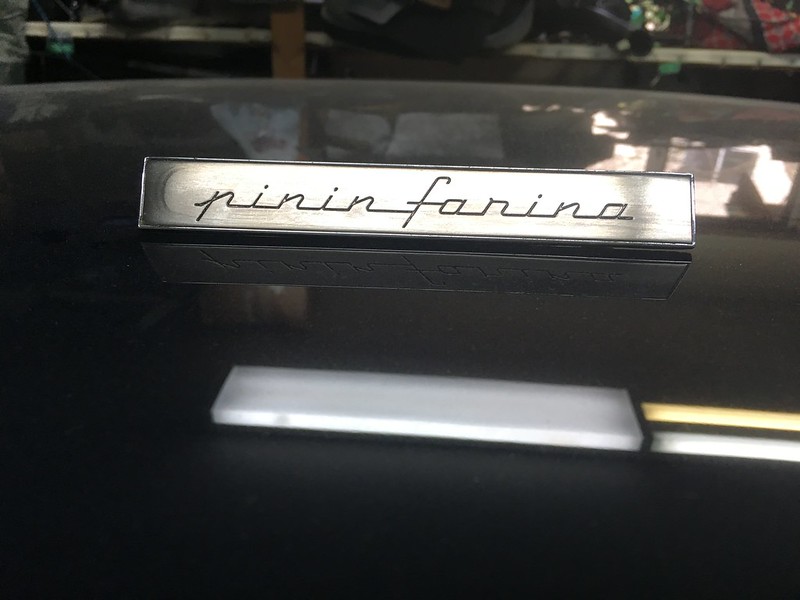 ....and mounted on the dashboard's stainless steel trim panel. Note the stainless trim to the left of the instrument cluster, it's not original but I like it. 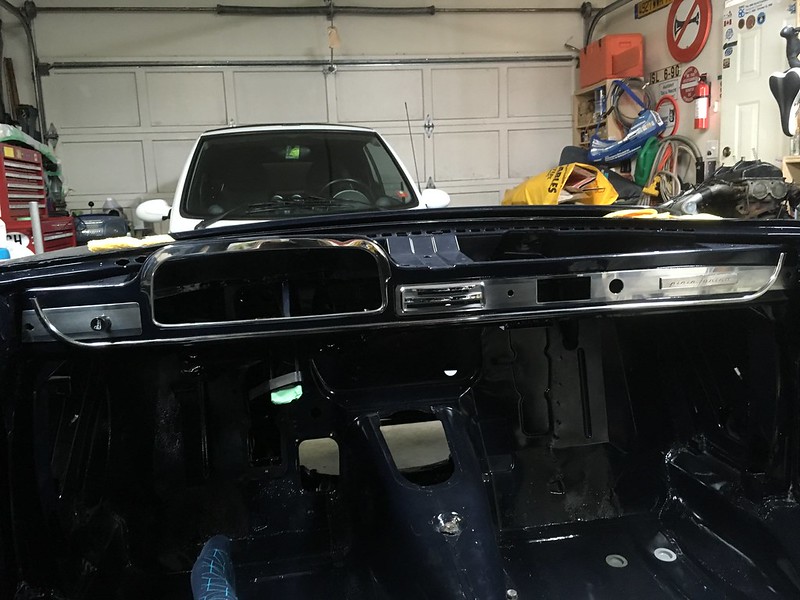 Water pump pulleys. The one with red insulation is the one I propose to use, because it's in better condition than the original with the cracked insulation. I painted both anyway. The old one still works fine. 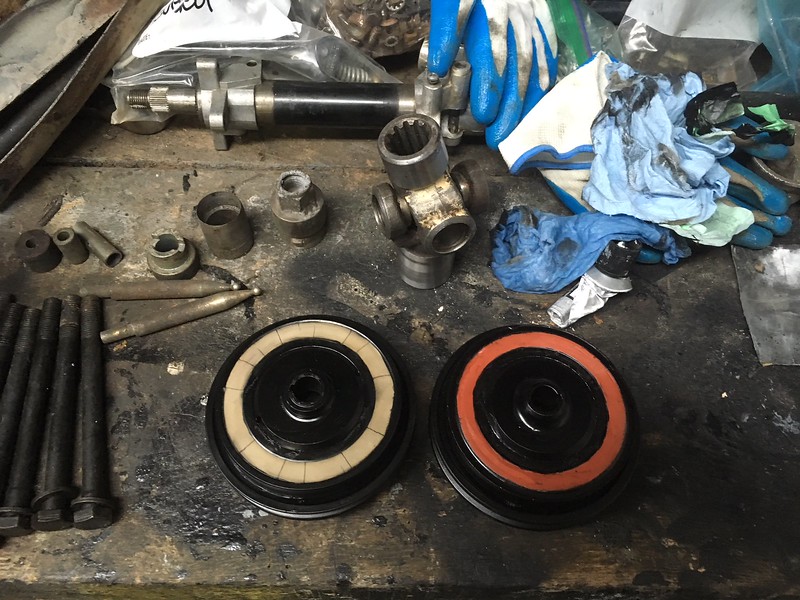 |
|
|
|
Post by miketippett on Nov 22, 2017 6:27:08 GMT
Wiring harness reinstallation. The bit that pops through the rear bulkhead into the trunk was worrying me because it was a bear to remove but it slid back into place beautifully. You can barely see here the flat black concealing plate that the wiring harness goes through to get to the front. The fuse box has been clipped back into place below the A-pillar. Next step is to get the front of the harness installed. That should be somewhat more complicated! 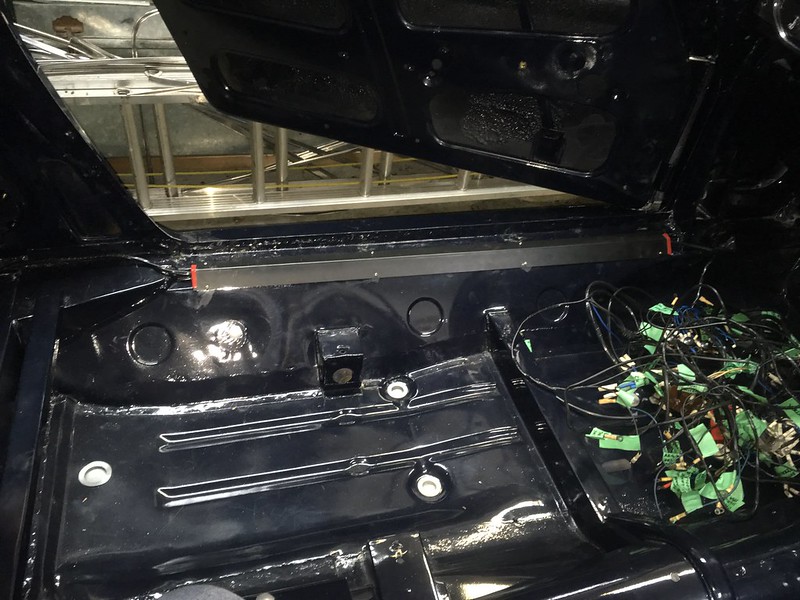 Today I got my new remanufactured bumper irons (for the side front bumper mounts) for my Coupé, made by Richard Gretau in Bordeaux: 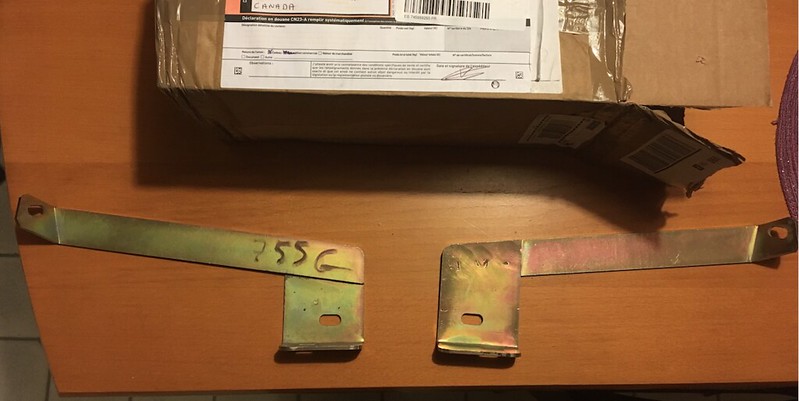 |
|
|
|
Post by miketippett on Feb 13, 2018 5:28:22 GMT
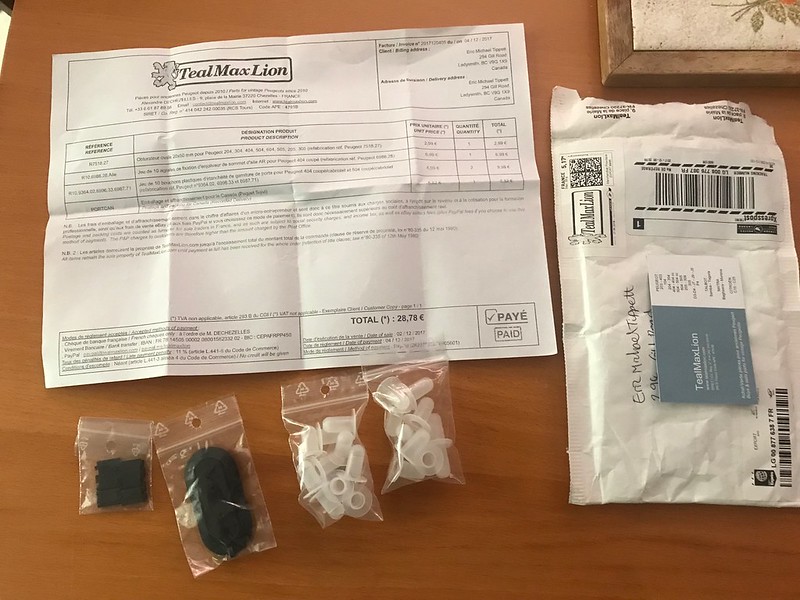 New plugs for the 404C doors that accept the upholstered panel clips, an ovoid plug for the hole in the new front crossmember (which the original one didn't have) and ten trim clips for the stainless steel rear fender trims. 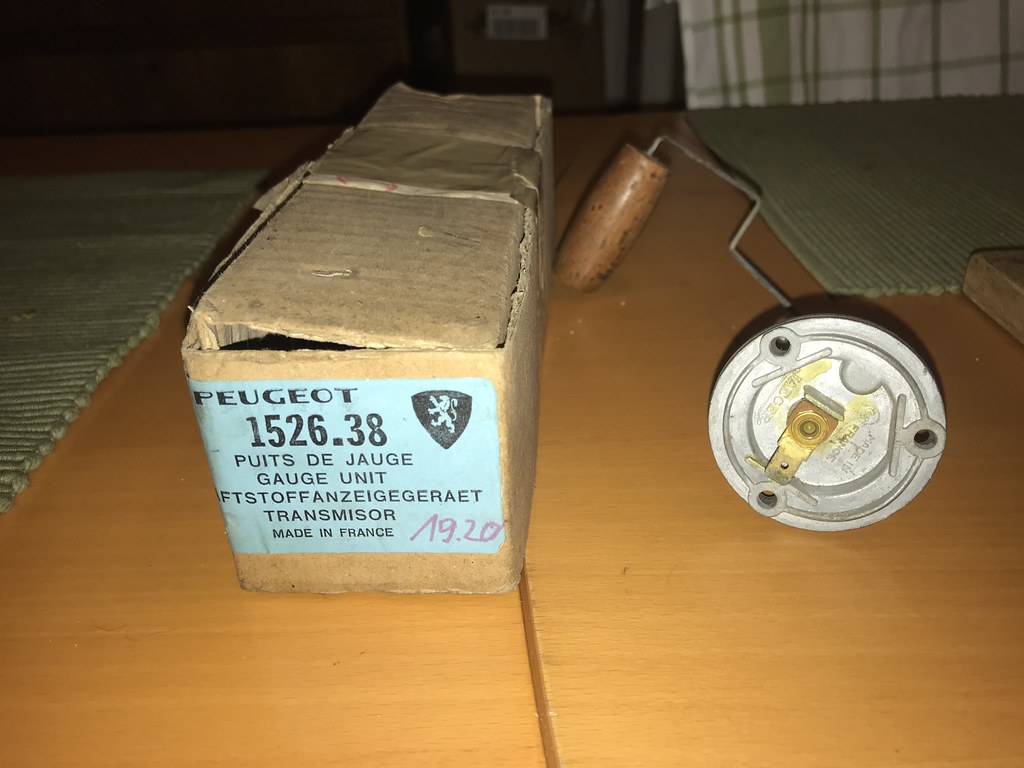 New NOS fuel sending unit, not the cheapo version sold on eBay etc. Bit of work done over the past weeks: 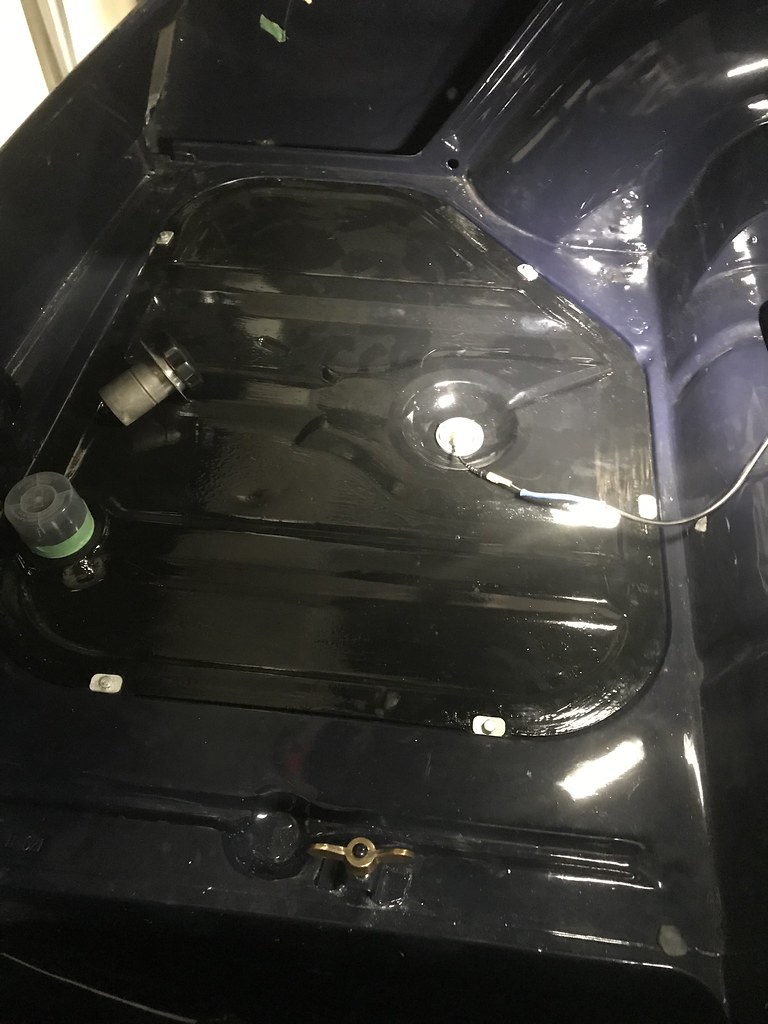 Sending unit mounted (I found the screws!), put new o-rings on three screws that secure the unit to the tank 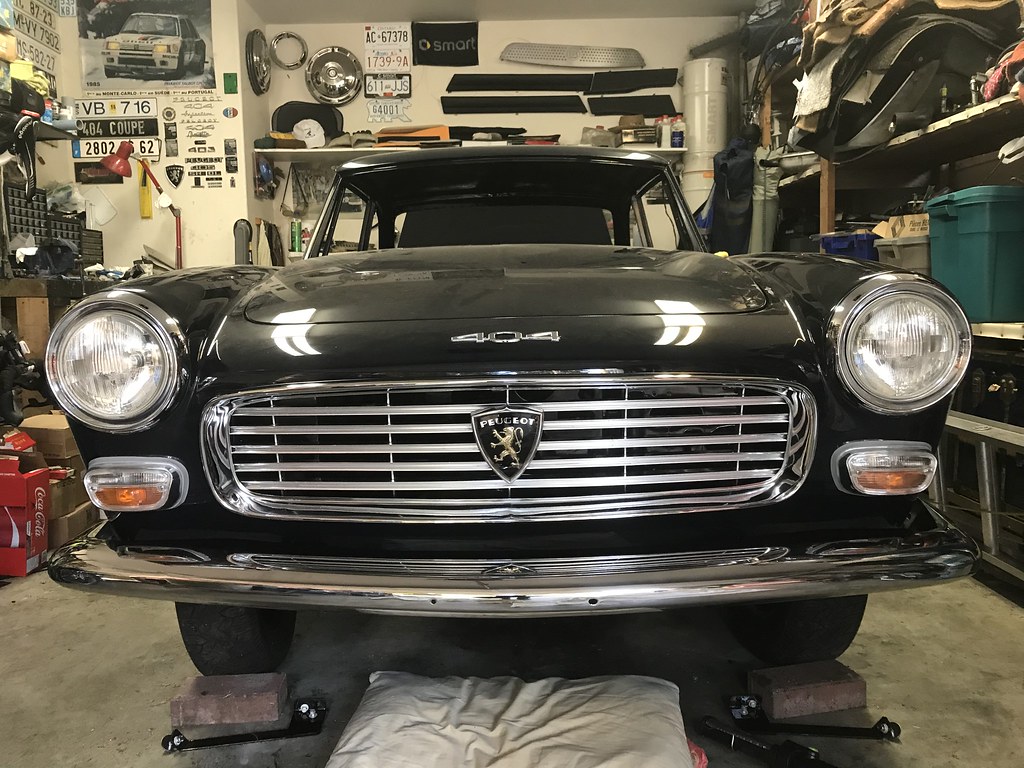 Front bumper mounted, slight adjustments required 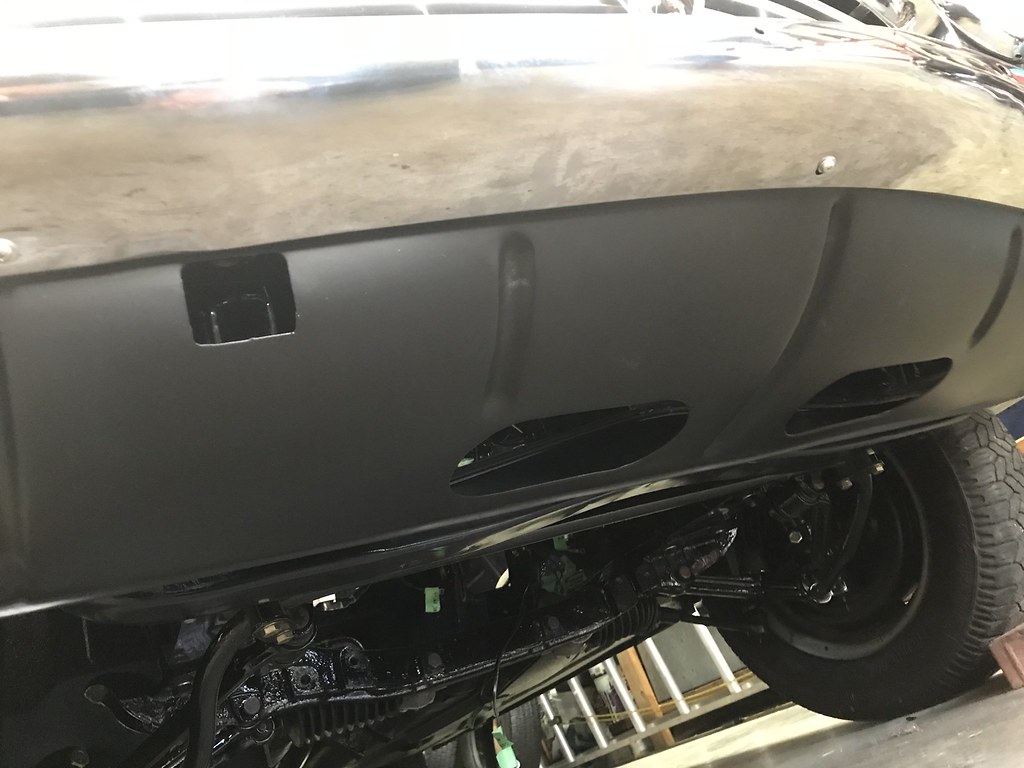 Under bumper spoiler that was fitted to 1962-1966 404C models 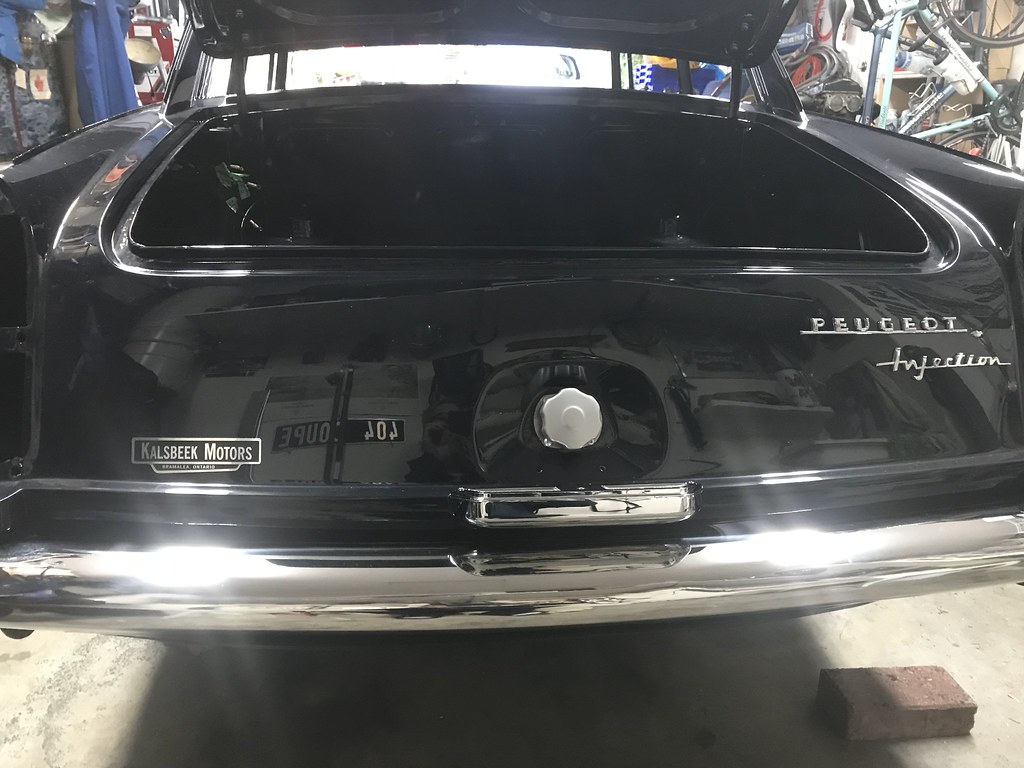 Rear bumper mounted, license plate light, fuel filler, plus I improved the hood release cable, mounted the battery buffers and found the missing hardware for the windshield washers |
|
|
|
Post by miketippett on Feb 18, 2018 1:38:28 GMT
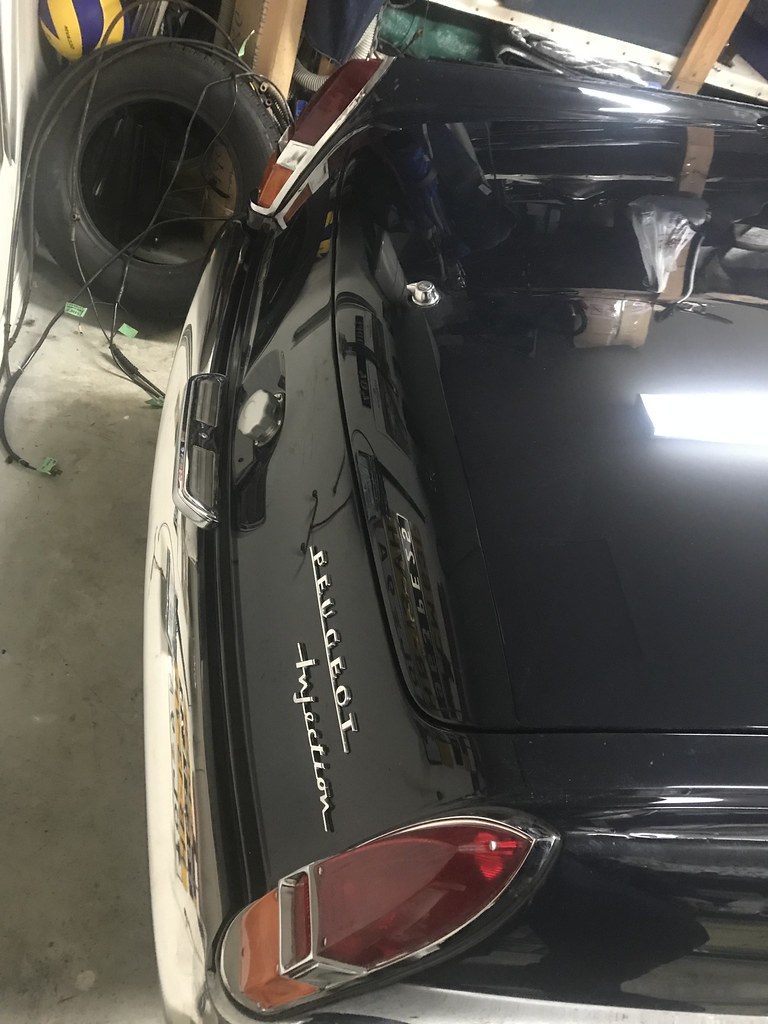 Tail lights are mounted with 3M non-drying putty in behind the vinyl gasket to keep water out of the trunk/rear fenders. I also put new cage nuts in the rear side bumper mounts, sealed them also with 3M putty so they won't leak and temporarily installed the trunk lid seal, which is perfect! |
|
|
|
Post by miketippett on Feb 26, 2018 3:06:50 GMT
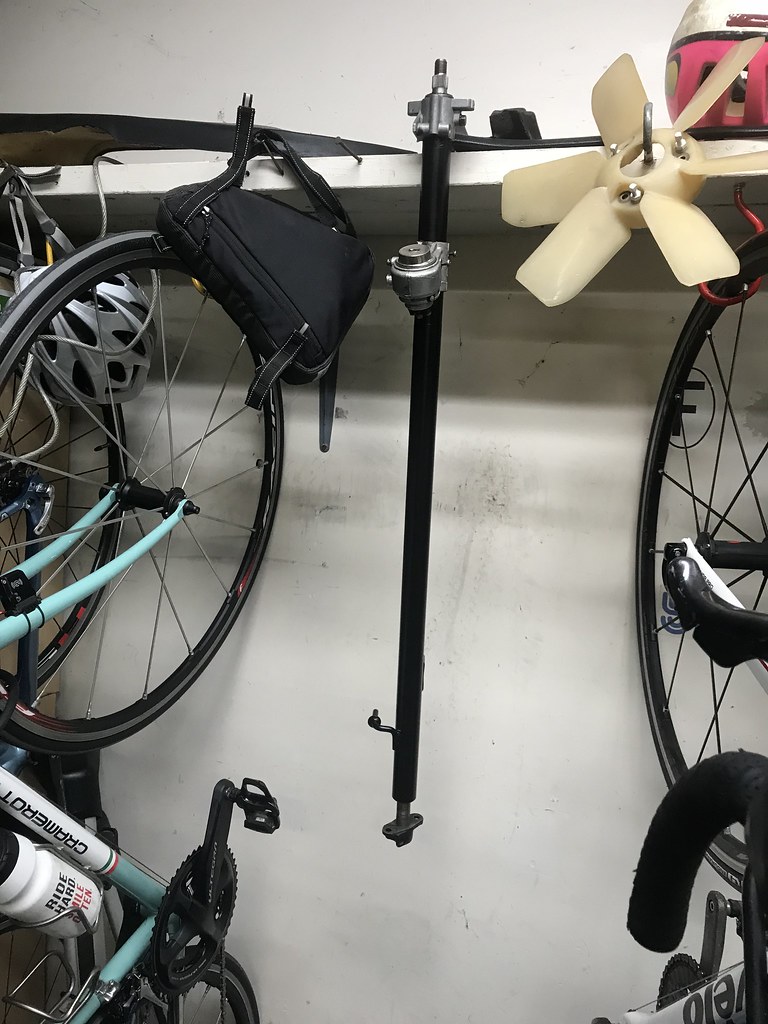 Painted the steering column today. Looks pretty decent now. It was rusty in the lower engine compartment area. |
|
|
|
Post by miketippett on Mar 4, 2018 7:28:10 GMT
Today I didn't do much for the car, but I did manage to take the steering shaft out of the column for a thorough cleaning and lubrication. Between the shaft and the column in the photo, you can see the upper rubber coated bronze bushing that provides location for the shaft. All parts are in great condition so after a coating of thick grease, it's all back together. 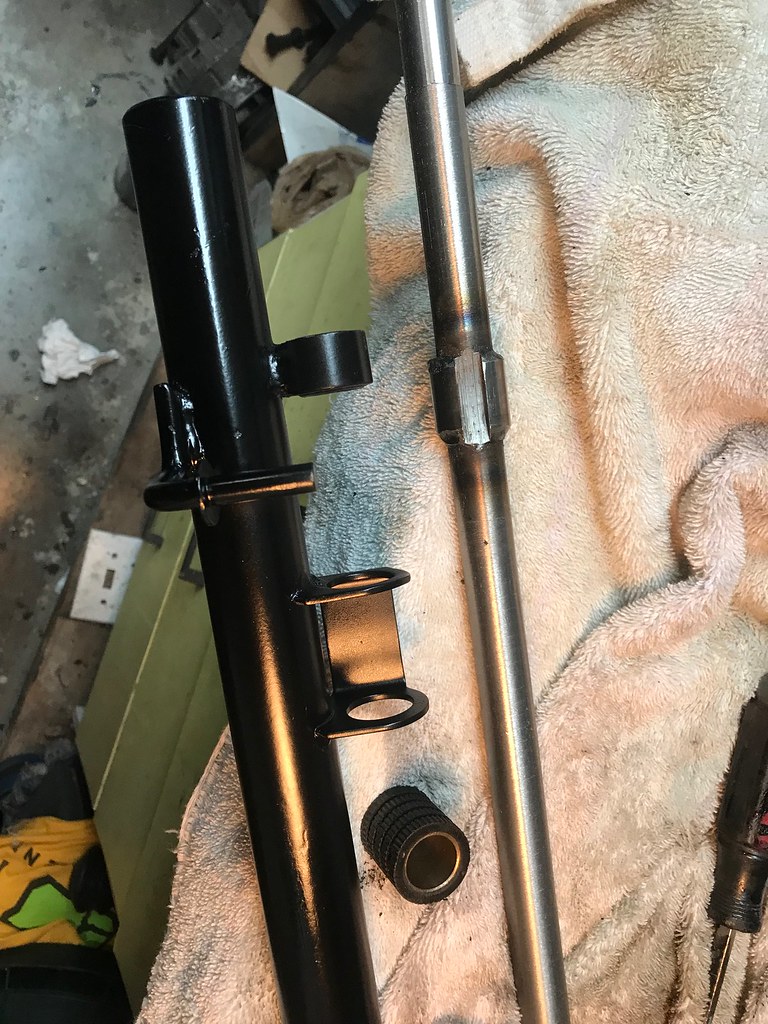 |
|
|
|
Post by miketippett on Mar 11, 2018 4:53:36 GMT
The third batch of cadmium plating has been done, and about half of the stainless steel trim polished: 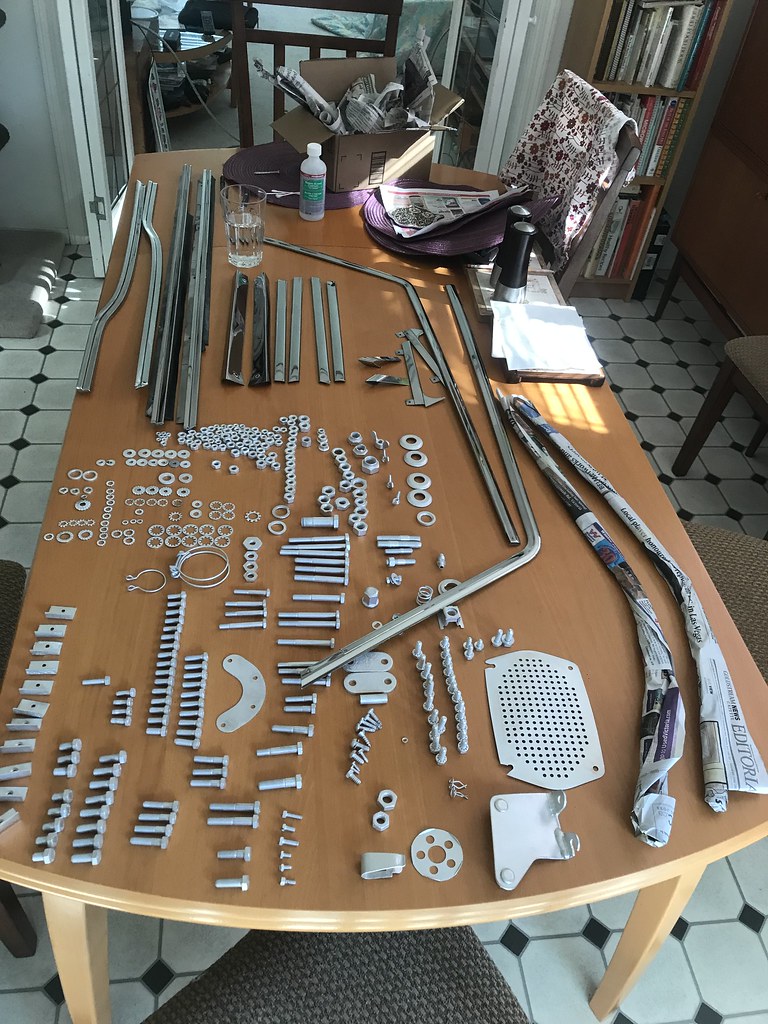 I snapped the window frame SS trim back on both doors, and provisionally put the beltline trim on as well. The rear quarter window trims will be next. 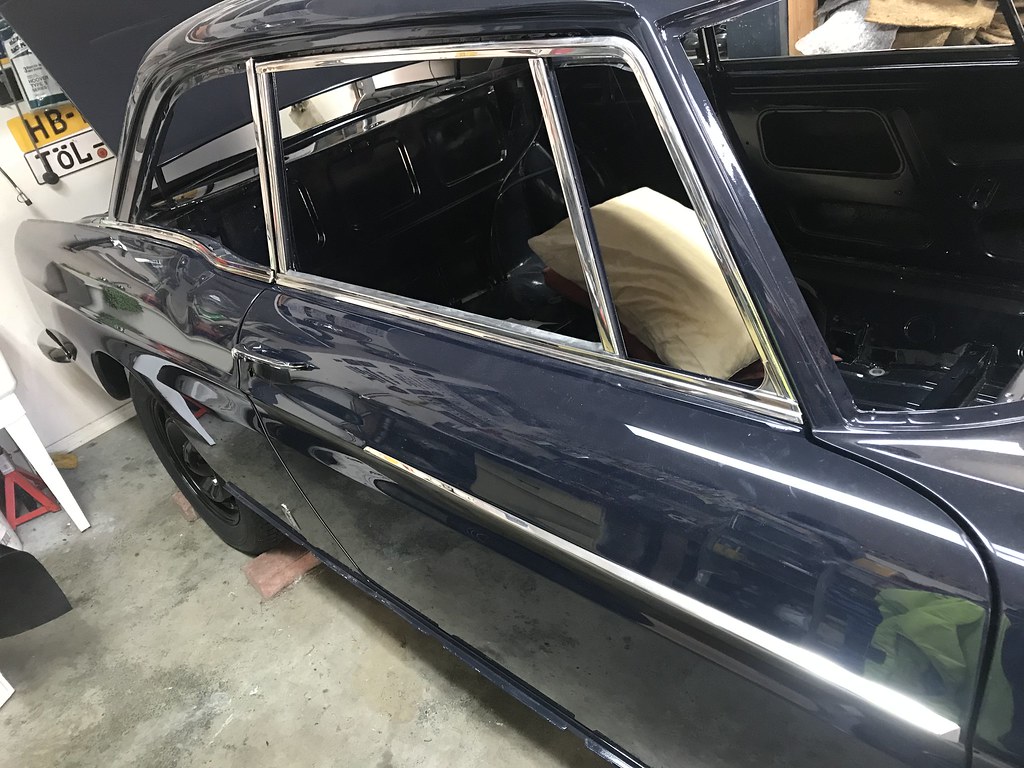 |
|